

Your granny flat construction is complete, and handover day has arrived. However, before you make that final payment and receive the keys, you need to conduct a thorough inspection to ensure everything meets the quality standards you paid for.
Here’s your complete room-by-room handover checklist for inspecting your new Melbourne granny flat before signing off on completion.
Understanding the Handover Process
Handover represents the formal transfer of your completed granny flat from builder to owner. Although Innovista Group conducts a comprehensive pre-handover inspection internally, your independent inspection protects your interests and ensures complete satisfaction.
What You’re Inspecting For
Major defects: Structural issues, significant building code violations, or substantial construction failures requiring immediate rectification.
Minor defects: Cosmetic imperfections, small finishing issues, or items requiring adjustment but not affecting functionality.
Incomplete items: Any inclusions or features specified in your contract that haven’t been delivered or installed.
Normal construction characteristics: Some minor variations, settling, or aesthetic imperfections are normal in all construction and don’t constitute defects.
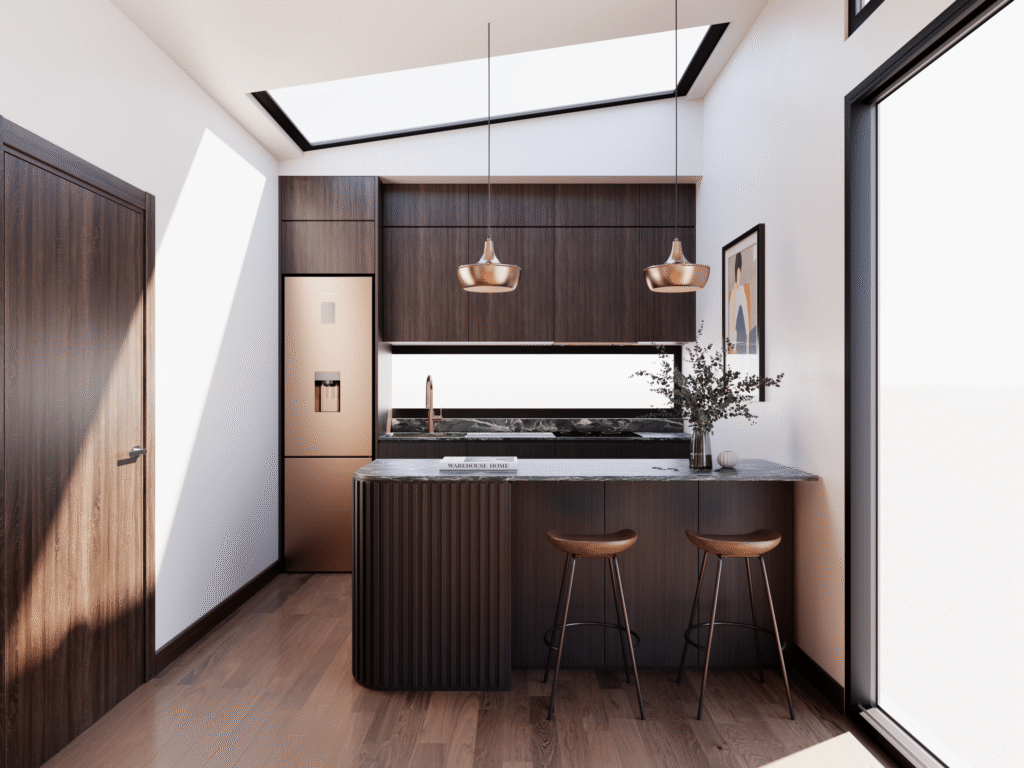
Kitchen Inspection Checklist
Start your inspection in the kitchen, as it contains the most fixtures, appliances, and finishes requiring examination.
Cabinetry and Benchtops
Doors and drawers: Open and close every cabinet door and drawer. Furthermore, they should operate smoothly without sticking, with soft-close mechanisms functioning properly. Additionally, check for scratches, chips, or damage to surfaces.
Benchtop installation: Examine stone benchtops for chips, cracks, or installation gaps. Moreover, seams (if present) should be barely visible and properly sealed. Verify that benchtops are level and securely attached.
Hardware quality: Test all handles, knobs, and hinges for proper installation and specification compliance. Subsequently, test soft-close mechanisms on all doors and drawers.
Appliances
Oven and cooktop: Turn on the oven and each cooktop element. Next, verify they heat properly and controls function correctly. Finally, check that the oven door opens smoothly and seals properly when closed.
Rangehood: Test the rangehood on all fan speeds. Additionally, verify lights work and filters are installed. Ensure ducting (if applicable) is properly connected.
Dishwasher: Run the dishwasher through a quick cycle. Meanwhile, check for leaks underneath during operation. Then verify it completes the cycle and drains properly.
Other appliances: Test any additional appliances (microwave, fridge if included) according to contract specifications.
Plumbing and Fixtures
Sink operation: Run hot and cold water taps. Simultaneously, check for leaks underneath the sink. In addition, verify drainage is fast with no slow draining or gurgling.
Mixer tap quality: Test the mixer tap for smooth operation, proper hot/cold mixing, and secure mounting without wobbling.
Water pressure: Verify adequate water pressure from all taps. Importantly, pressure should be consistent and strong throughout.

Bathroom Inspection Checklist
Bathrooms require particular attention due to waterproofing requirements and multiple plumbing fixtures.
Shower and Bath
Waterproofing: First, check that the shower screen seals properly with no gaps. Then examine tile grout for completeness and proper application. Finally, verify the floor waste (drain) is secure and properly sealed.
Frameless shower screen: Test that the frameless shower screen opens and closes smoothly. Also, check for chips or damage to glass. Ensure all hinges and handles are secure.
Tiling quality: Examine wall and floor tiles for cracks, chips, or hollow-sounding tiles (tap lightly—hollow sound indicates poor adhesion). Subsequently, check that grout lines are even and properly finished.
Shower operation: Test the shower mixer for hot and cold water control. Additionally, verify the showerhead functions properly with good pressure. Meanwhile, check for any leaks during operation.
Vanity and Toilet
Vanity cabinet: Open and close vanity doors and drawers. Furthermore, check the benchtop for damage. Verify the basin has secure mounting with proper sealing around edges.
Taps and drainage: Test basin taps for operation and check for leaks. Then run water and verify drainage is fast and complete.
Toilet function: Flush the toilet multiple times. Consequently, verify it fills properly, doesn’t continue running, and flushes completely. Also check for leaks around the base and connections.
Mirrors and accessories: Ensure mirrors are securely mounted without distortion or damage. Similarly, check that towel rails, toilet roll holders, and robe hooks are securely fixed.

Bedroom Inspection Checklist
Although bedrooms require less intensive inspection, they still need careful examination.
Built-in Wardrobes
Door operation: Open and close wardrobe doors. Specifically, sliding doors should glide smoothly on tracks. Meanwhile, hinged doors should operate without sticking.
Internal fit-out: Verify shelving and hanging rails are present as per specifications. Additionally, check they’re securely mounted and level.
Door alignment: Wardrobe doors should align properly when closed with even gaps between doors and surrounding frames.
Windows and Natural Light
Window operation: Open and close all windows. In particular, they should operate smoothly without excessive force. Moreover, locks should engage properly.
Double-glazed windows: Double-glazed windows should have no condensation between panes. Furthermore, check that seals around frames are complete and properly finished.
Screens: Verify flyscreens are installed on all opening windows and doors. Additionally, screens should fit properly without gaps and be free from tears or damage.
Living Areas and General Inspection
Living areas and general spaces require attention to finishes and overall quality.
Walls and Ceilings
Paint finish: Examine walls and ceilings for paint coverage, drips, or roller marks. However, minor imperfections are normal, but coverage should be complete and even.
Plasterboard finishing: Check for visible joints, screw pops, or uneven surfaces. Ideally, properly finished plasterboard should appear smooth and uniform.
Cracks: Hairline cracks in corners or at ceiling/wall junctions can be normal settling. However, significant cracks require investigation.
Flooring
Flooring installation: Verify flooring is properly installed with no gaps, lifting edges, or damaged sections. Additionally, walk across all floor areas listening for excessive squeaking or movement.
Transitions: Check that transition strips between rooms or flooring types are properly installed and secure.
Cleanliness: Flooring should be professionally cleaned and ready for occupation.
Doors and Hardware
Door operation: Open and close all internal doors. Specifically, they should swing freely without catching on frames or floors. Also check that door stops are installed.
Locks and handles: Test all door handles and locks. Moreover, they should operate smoothly with keys (if applicable) working properly.
Door alignment: Doors should close properly with even gaps around all edges.
Electrical and Climate Control
Electrical and climate control systems require functional testing.
Electrical Testing
Light switches and power points: Test every light switch in every room. Then verify all lights illuminate properly. Subsequently, test multiple appliances in power points throughout the granny flat.
LED lighting: Ensure all LED lights function without flickering. Additionally, check that external lights operate correctly.
Safety switches: Verify the electrical switchboard has proper safety switches (RCD protection) installed and labelled.
Heating and Cooling
Reverse cycle system: Test heating and cooling on both settings. Consequently, the system should respond quickly and blow cold air when cooling, warm air when heating.
Thermostat control: Verify the thermostat responds to temperature adjustments and the system maintains set temperatures.
Airflow: Check that air flows from all vents without obstruction or unusual noise.
External Areas
Don’t forget to inspect external areas and connections.
External Finishes
Cladding and paint: Examine external cladding for damage, proper installation, and complete paint coverage. Additionally, check that corners and trim are properly finished.
Gutters and downpipes: Verify gutters are properly installed with correct fall towards downpipes. Similarly, check that downpipes are securely mounted and connected to stormwater drainage.
Awnings and decking: If included, check that awnings are securely mounted. Furthermore, verify decking is properly constructed with no loose boards or protruding nails.
Service Connections
Separate meters: If you’ve installed separate electricity and water meters, verify they’re properly installed and accessible.
Hot water system: Check the hot water system is properly installed, connected, and operational. Moreover, verify adequate hot water delivery to all fixtures.
Documentation Review
Before final payment, ensure you receive all required documentation.
Essential Documents
Occupancy certificate: This legal document certifies the granny flat is suitable for occupation and meets building code requirements. Importantly, no granny flat can be legally rented without this certificate.
Warranties: Review Innovista’s 10-year structural warranty and 6-month maintenance guarantee. Furthermore, understand what’s covered and the claim procedures.
Appliance manuals: Collect all appliance manuals, warranty cards, and installation instructions for future reference.
As-built plans: Obtain final as-built plans showing the granny flat as constructed, including service locations. Notably, these are valuable for future maintenance or modifications.
Council compliance: Verify all council compliance documentation is complete and filed appropriately.
What’s Normal vs What Needs Fixing
Understanding normal construction characteristics versus genuine defects helps you focus on legitimate issues.
Normal Characteristics
Minor paint variations: Slight colour variations in natural light versus artificial light, or minor roller marks, are normal.
Small plaster imperfections: Tiny dimples or very minor unevenness in plasterboard finishing is normal and often only visible in specific lighting.
Timber movement: Minor gaps in timber trim or slight movement in timber components as they acclimatise is normal.
Settling cracks: Very fine hairline cracks in corners or at junctions can occur as the building settles. Typically, these are cosmetic.
Genuine Defects Requiring Rectification
Inoperable fixtures: Anything that doesn’t work (appliances, taps, lights, doors, windows) must be rectified.
Leaks: Any water leaks from plumbing, roofs, or windows require immediate attention.
Significant damage: Chips, cracks, or damage to benchtops, tiles, glass, or finishes beyond minor cosmetic imperfections.
Incomplete items: Missing inclusions specified in your contract must be delivered or installed.
Safety issues: Any electrical, structural, or safety concerns require immediate professional assessment and rectification.
Creating Your Defects List
Document any issues you discover during inspection systematically.
How to Document Defects
Photograph everything: Take clear photos of every defect or concern. Specifically, include wide shots showing location and close-ups showing detail.
Written descriptions: Create a numbered list with clear descriptions of each issue, location, and what needs rectification.
Severity classification: Categorise issues as major (affecting function or safety), minor (cosmetic), or incomplete (missing items).
Prioritise safety: Any safety concerns should be addressed immediately before occupation.
Understanding Rectification Timeframes
Builders must rectify defects within reasonable timeframes.
Major defects: Issues affecting safety, function, or habitability should be addressed immediately (within days).
Minor defects: Cosmetic issues are typically rectified within 2-4 weeks through a scheduled return visit.
Settling issues: Some minor issues may need time to appear (like settling cracks). However, your 6-month maintenance guarantee covers these items.
Preparing for Your First Tenant
Once handover is complete and any defects are rectified, prepare for your first granny flat tenant.
Final Preparation Steps
Professional cleaning: Even though builders clean post-construction, consider professional cleaning for rental presentation.
Photography: Take high-quality photos of the completed granny flat for rental advertising and condition reports.
Utilities connection: Arrange separate utility accounts in preparation for tenant occupation.
Property management: If using professional property management, provide them with all documentation and access.
The Bottom Line on Granny Flat Handover
Your handover inspection is your opportunity to ensure your granny flat investment meets the quality standards you contracted for. Therefore, take your time, inspect thoroughly, and document any concerns professionally.
Innovista Group’s commitment to quality construction means most handovers proceed smoothly with minimal defects. Nevertheless, your careful inspection ensures any issues are identified and rectified before you begin generating rental income from your new investment.
Contact Innovista Group if you have questions about the handover process or need clarification about warranties and rectification procedures.